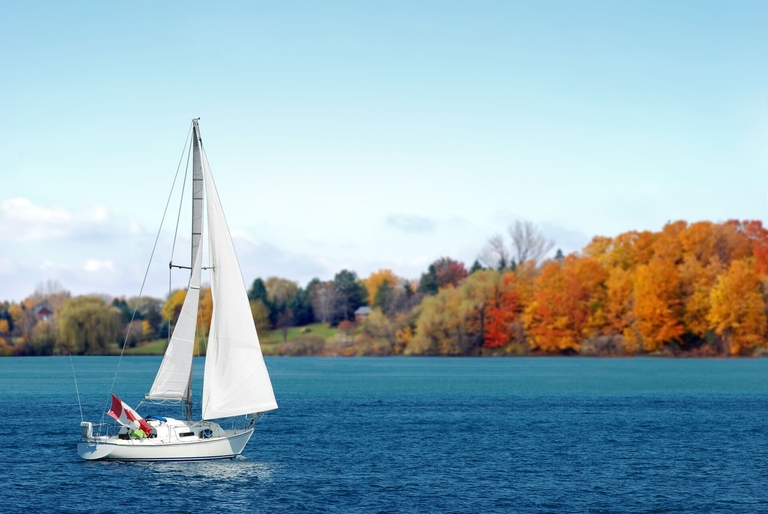
How to Winterize Your Boat: Our Expert Guide
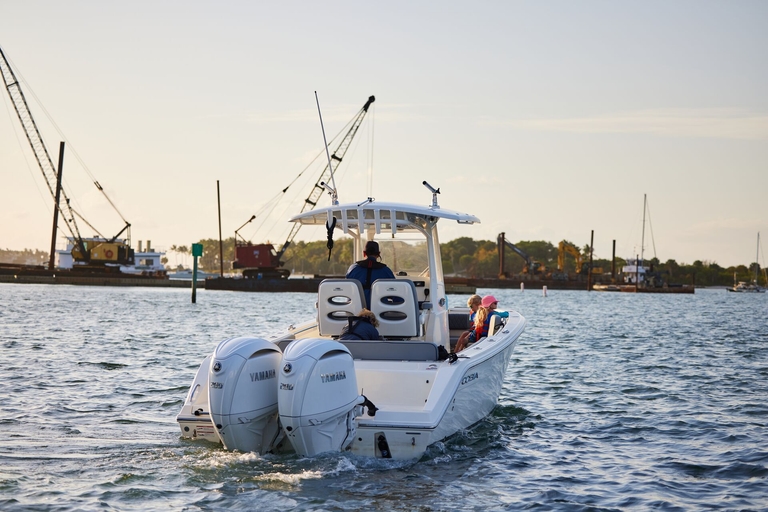
If you live in a colder climate, winterizing your boat at the end of each boating season should be a standard part of your boating best practices. Doing this does take some time and effort, but in the long run, it’s one of the best ways to keep your boat in its best condition and ready for the next boating season.
It’s also a crucial “safety first” task to protect yourself, friends, and family when using your boat.
Even if you don’t live in a cold climate, if you plan to store your boat or don’t plan to use it for any length of time, a good “winterization” process helps protect your boat in storage so it’s ready for you when you’re ready to get back out on the water.
What’s the best way to take care of your boat at the end of the season? Our experts have pulled together our best tips to care for your watercraft and safety equipment year after year to protect your investment (and fun)!

Why You Should Winterize Your Boat Every Year
We touched on it above, but one of the best reasons to follow a thorough winterization process after each boating season is to get the most out of your boat and your time on the water.
Boats are expensive toys! Skipping essential maintenance and upkeep tasks can lead to a boat that doesn’t function well (or at all) when you’re anxious to launch for your first water outing of the season. It can also get expensive to fix preventable issues that you could avoid with a simple winterization checklist each season.
Without proper winterization, your boat is prone to cracking and bursting. Overall degradation becomes a significant problem, too.
Get Out on the Water Faster Each Season
Maximizing your time on the water means you get the most out of your boat and time with friends and family every season! However, if you’re spending valuable boating days taking care of maintenance issues that should be part of last season’s boat winterization, you could be missing some of your best days on the lake.
While it might not be the most fun you have with your boat, taking the time to winterize properly will get you back out on the water faster when the weather warms again.
Stay Safe on the Water
Boat winterization helps you keep an eye on every aspect of your boat. It also helps you catch problems early and prevent other issues that could lead to safety concerns when it’s time to get back out on the water.
Even if you don’t live in an area with a lengthy cold season, if your area experiences a hard freeze or you simply don’t plan to use your boat for a while, we highly recommend following our checklist to take good care of your boat while it’s out of the water.
To understand more about the importance of safety on the water, make sure you’ve also taken a boating education course. These courses help you learn more about your boat, how it operates, how to be safe on the water, and what to do if something goes wrong.
Should You DIY It (Or Find a Professional)?
Is it a good idea to winterize on your own, or should you pay someone to do it? With the checklist we provide below, any boater can work through this task on their own.
Keep in mind, though, that it is a complicated process. It’s not hard, but proceed with caution and follow our guide for successful winterization. After you’ve done it the first time, you’ll be better prepared to do it again at the end of next season (and every season)!
However, if you don’t have the time or you’d rather pay someone else to do it, make sure you find a true boat winterization expert to handle this important process for your craft. The right professional can tackle this task efficiently without missing any steps to keep your boat safe and sound while not in use.
10 Steps to Successful Boat Winterization
So, how do you winterize a boat? Check out our ten expert steps for how to winterize a boat!
Step 1: Check Your Boat’s Owner’s Manual
Review your owner's manual thoroughly and consider its instructions before taking any other action. Each boat comes with unique recommendations for winterization, so it's essential to follow the specific guidelines tailored to your boat.
If you’re not sure where the boat’s manual is (or if you even have one), Discover Boating is a good resource for finding “lost” manuals.
Then, with the owner’s manual as your guide for specifics, get started on the winterization process.
Step 2: Prepare the Inboard Engine
Know the parts of a boat as you work through this process.
If your boat has an inboard engine, it’s time to change the oil and oil filters. You’ll also need to flush the engine (or multiple engines) with fresh water. Then, following the instructions in the owner’s manual, circulate antifreeze through the manifold.
Before moving on from the engine, spray each cylinder with “fogging oil” to help protect it against corrosion. Finish by spraying a cloth with WD-40 and wiping down the engine. This helps clean and protect your engine by displacing moisture.
If your boat doesn’t have an inboard engine, you can skip this step and move on to the next one for an outboard motor.
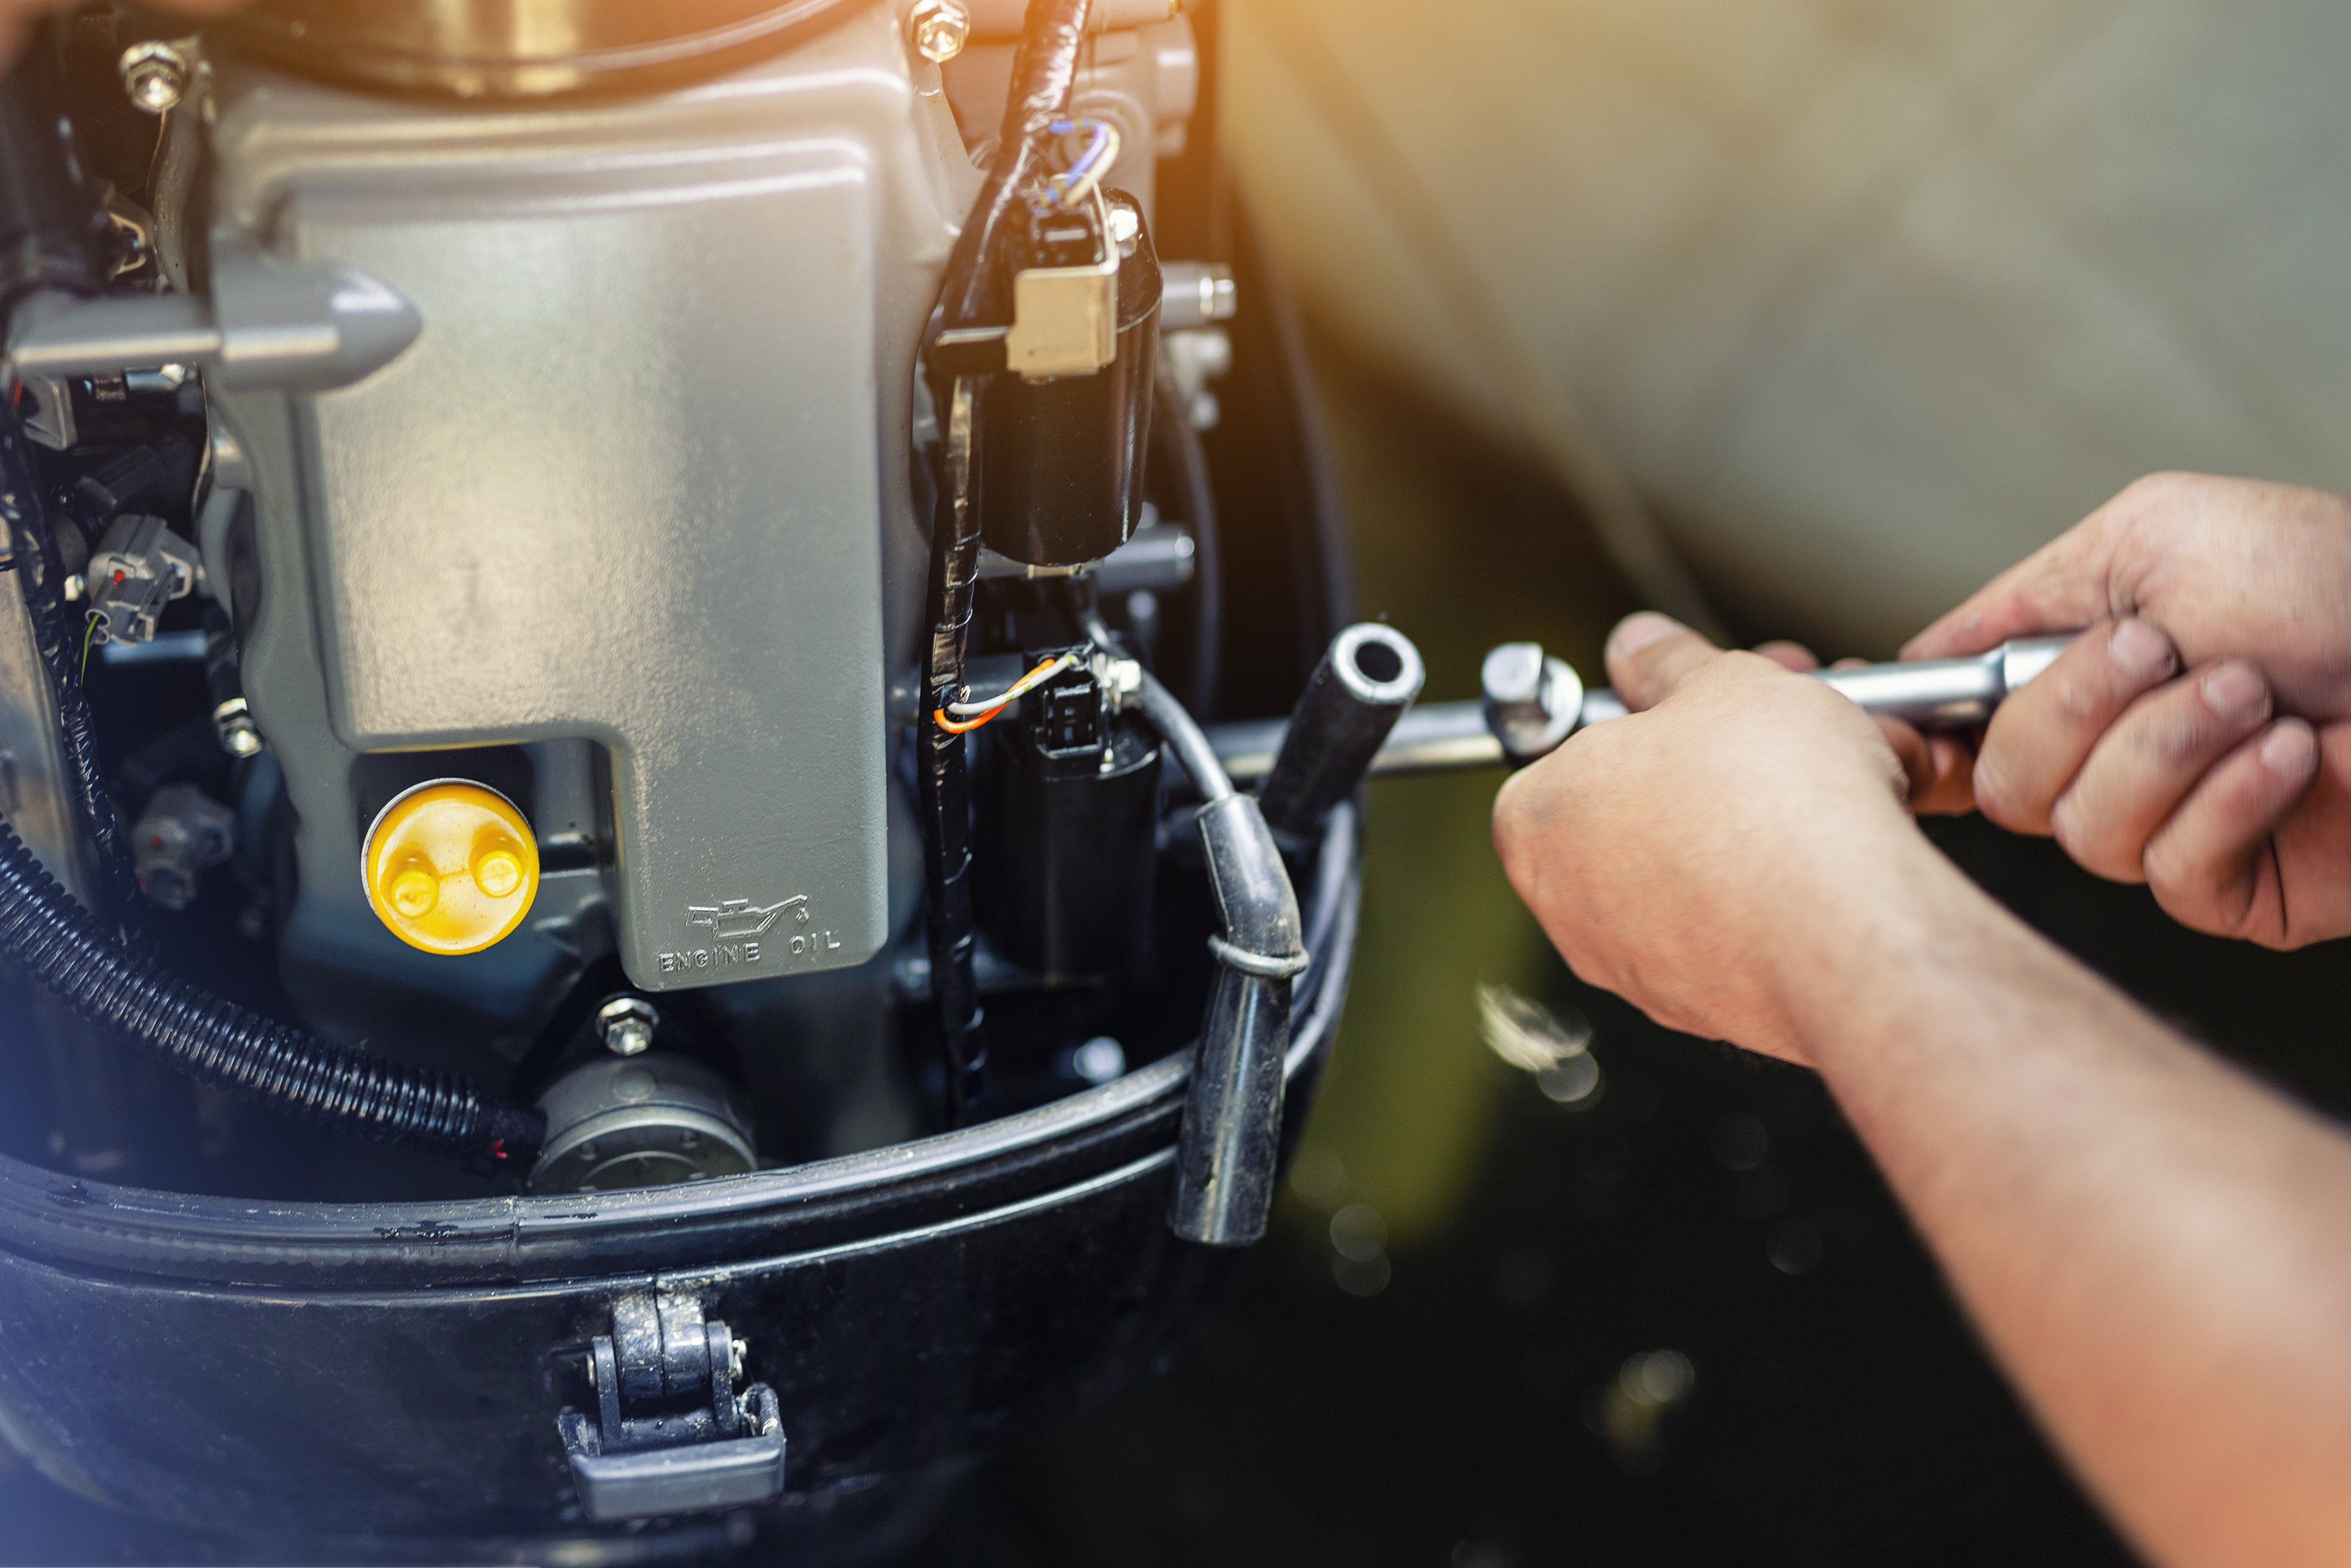
Step 3: Prepare the Outboard Motor
For boats with outboard motors, the first step is to flush the engine with fresh water. Make sure all water drains out. Then, give the motor’s exterior a thorough wash with soap and water. Rinse it thoroughly!
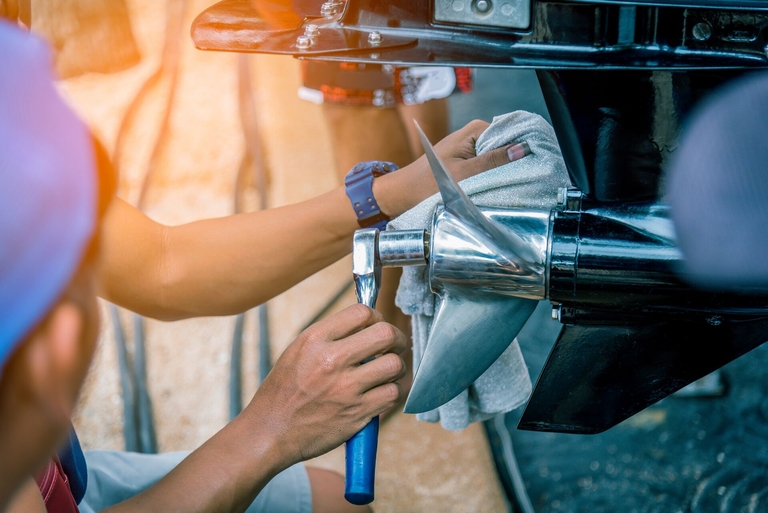
Next, drain the fuel from the carburetor using the instructions in the owner’s manual. Then, lubricate all parts thoroughly and apply fogging oil on the pistons and cylinders. Use water-resistant grease on the threads and propeller shaft. Lightly wax the engine’s exterior.
In the lower unit, be sure to change the gear oil.
Step 4: Inspect and Process the Stern Drive
This step applies to inboard and outboard motors. Start by inspecting the lower unit and removing barnacles or plants. Then, for boats with a rudder boot, check for pinholes or cracks.
Once those inspections are completed, move on to the gear case, drain the oil, and check for excessive moisture. Too much moisture in your oil could indicate leaking seals that will need repair.
Then, wash the unit’s exterior with soap and water. Grease all fittings. Then check the fluid levels in the lift pumps or hydraulic steering.
Reference the boat’s manual again for these steps for any specifics or additional recommendations from the manufacturer.
Step 5: Add Fuel
Even though you won’t be taking the boat out on the water any time soon, it’s crucial to fill the fuel tanks at this stage. This helps avoid condensation build up in the tanks. You’ll also want to add a fuel stabilizer during this step.
Then, change the fuel filter and water separator.
Step 6: Empty the Bilge
Don’t store your boat with water in the bilge. Empty the bilge and clean it with soap and water.
Then, dry it thoroughly and spray it with lubricant to help displace moisture. If it’s not possible to remove all water from the bilge, adding a small amount of antifreeze will prevent any remaining water from freezing while the temperatures are low.

Step 7: Drain Freshwater Systems
Does your boat have a freshwater tank or hot water heaters? It’s important to completely drain these systems during the boat winterization process.
After draining, run a non-toxic antifreeze through the systems, then turn on all faucets and showers to run until you see the antifreeze running out. Add non-toxic antifreeze to the water heater, too.
Step 8: Empty the Head
Depending on where you work through these winterization steps, you might or might not have an appropriate place to empty the head (if your boat has one). To complete this step, “head” to an approved waste facility where you can safely empty the boat’s holding tank.
Then, add fresh water to the bowl and flush a few times. This helps clean out the system for storage.
Before using cleaning products on the head, consult that owner’s manual again. Avoid products that might cause damage to the system.
After flushing and cleaning, add a manufacturer-recommended antifreeze to the holding tank, hoses, macerator, and y-valve.
Step 9: Don’t Forget the Interior
After completing the steps to winterize the boat’s equipment, don’t forget about the interior!
Gather lines, PFDs and life jackets, electronics, flares, fire extinguishers, and any other “loose” equipment on board. Inspect each item to ensure they are working properly. This is also a good time to clean these items.
For anything that isn’t in good working condition, remove these items from the boat and make a note to replace them before the next boating season.
Next, check any lockers or storage areas, including the fridge or freezer – if you have these items. Remove items and clean each space thoroughly.
Turn pillows and cushions on their sides to allow air circulation. You can also install a humidifier or use a moisture and odor-absorbing product to avoid moisture and mildew during the off-season.
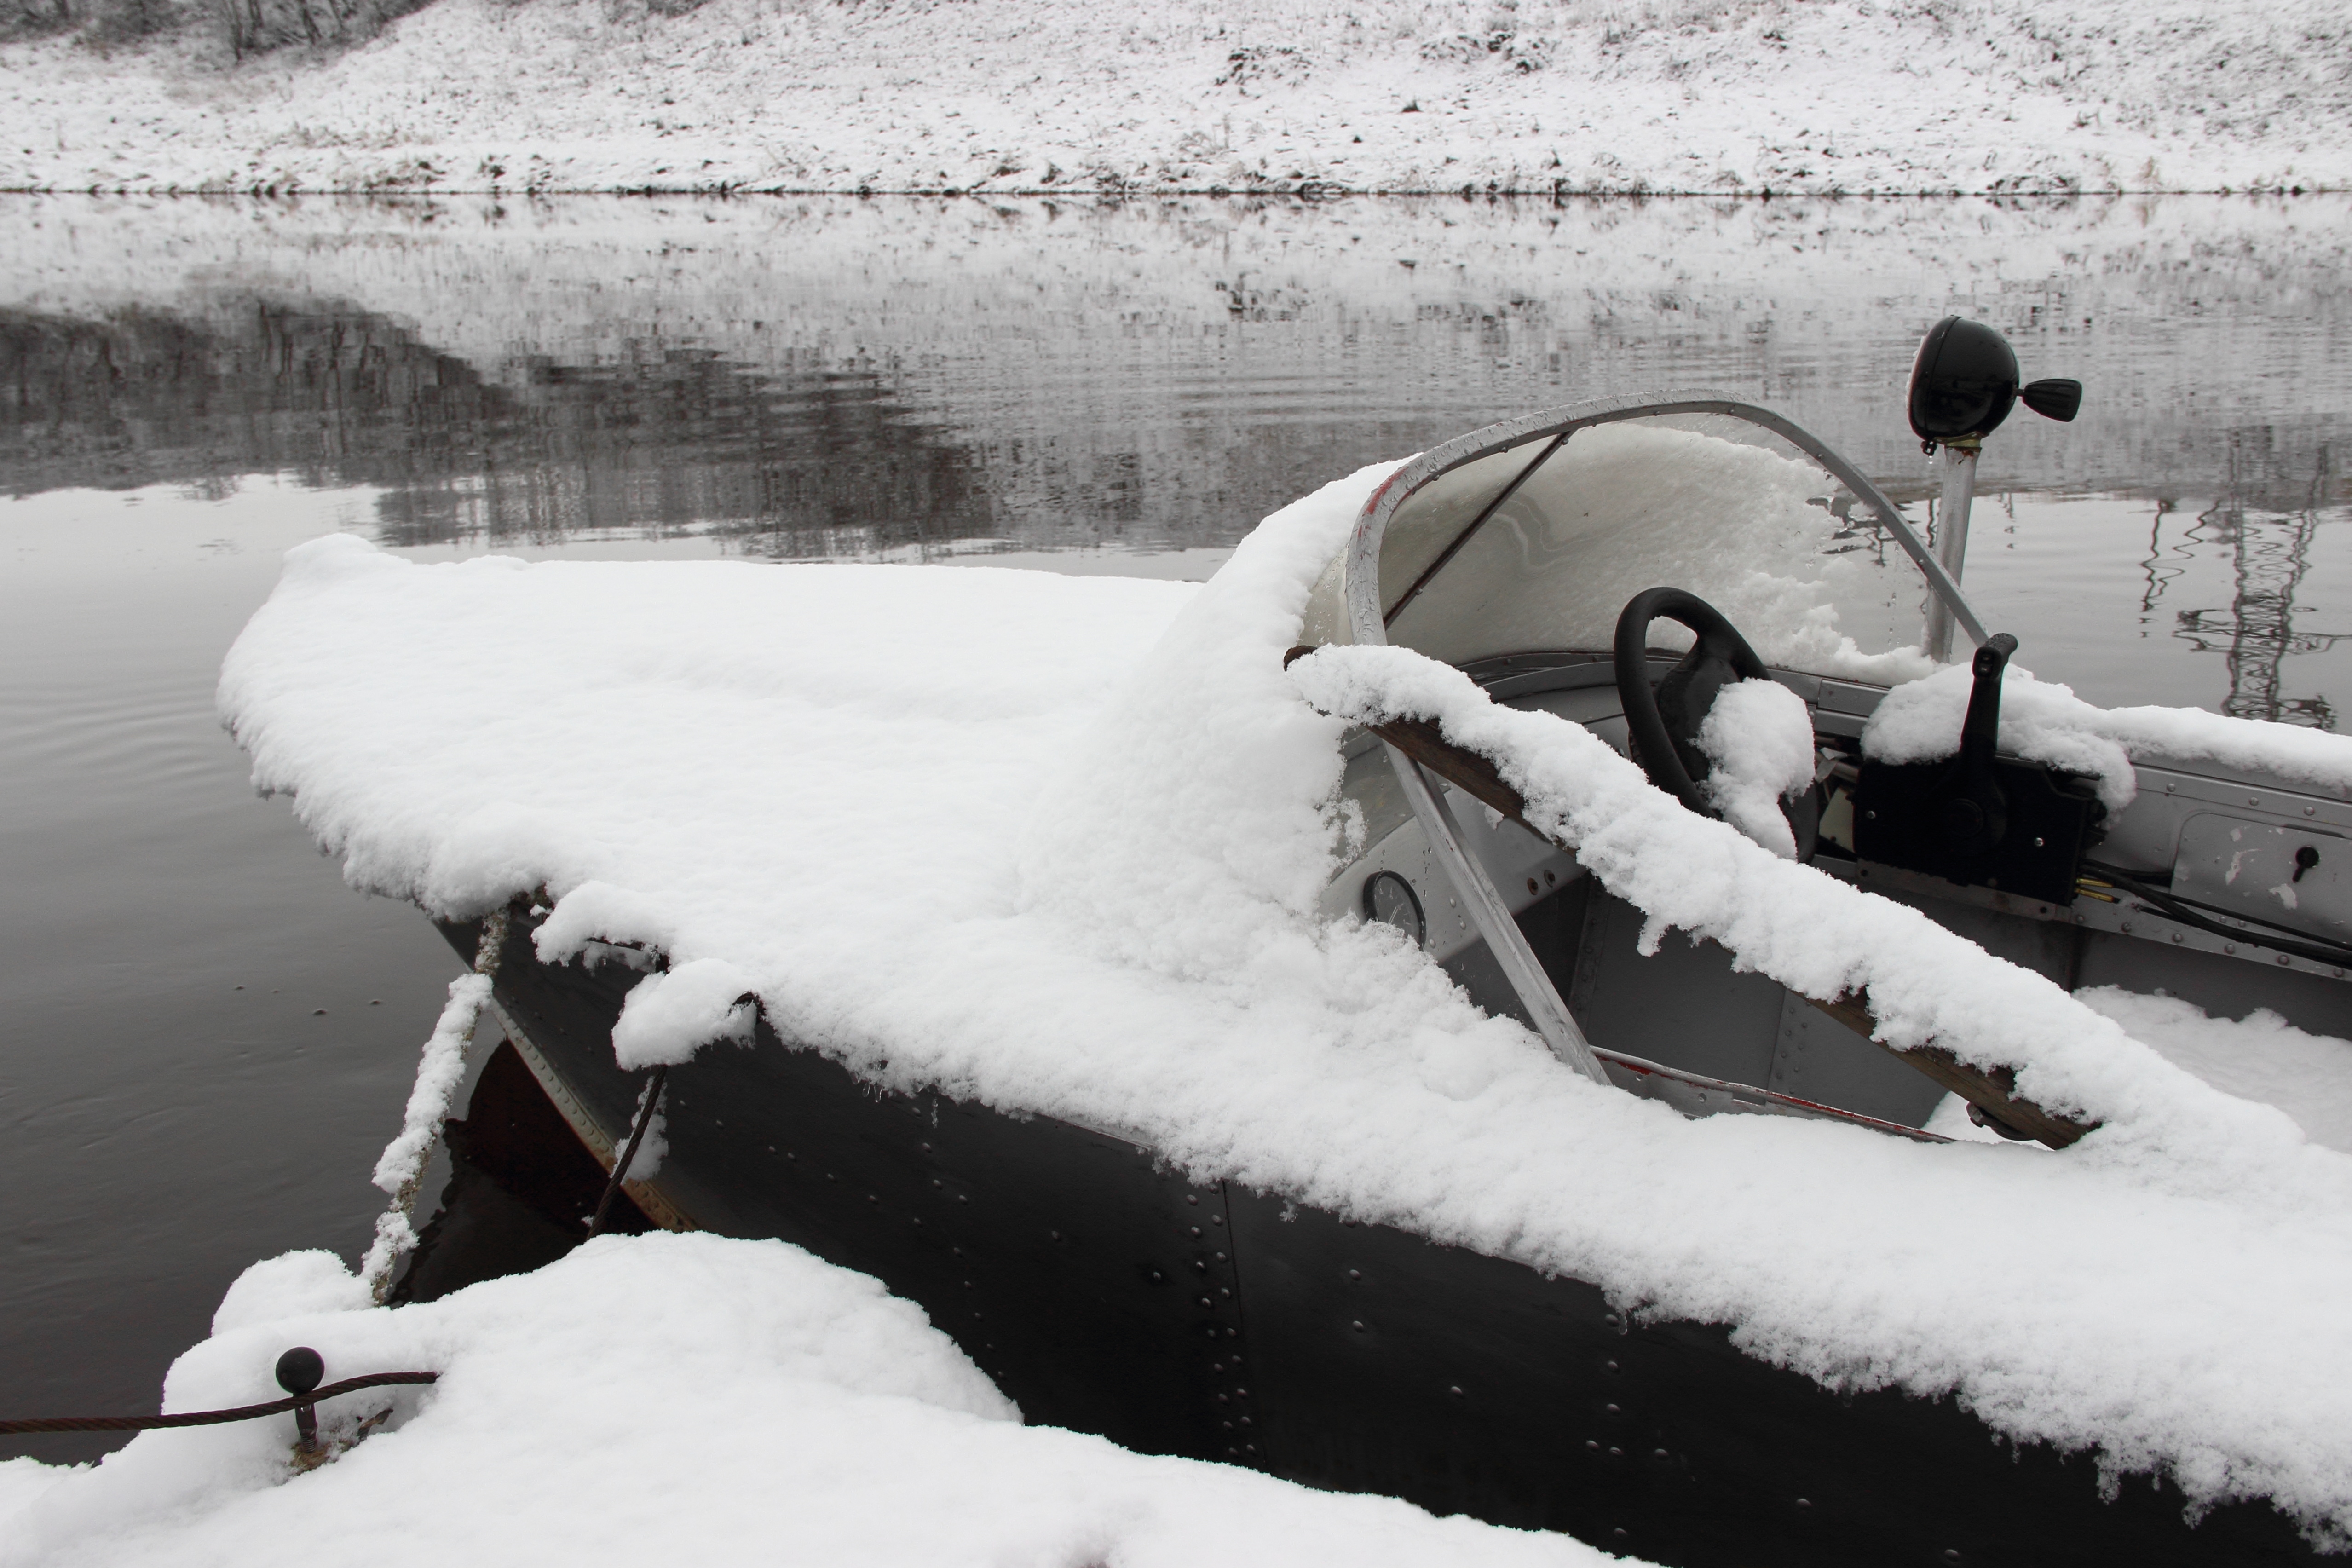
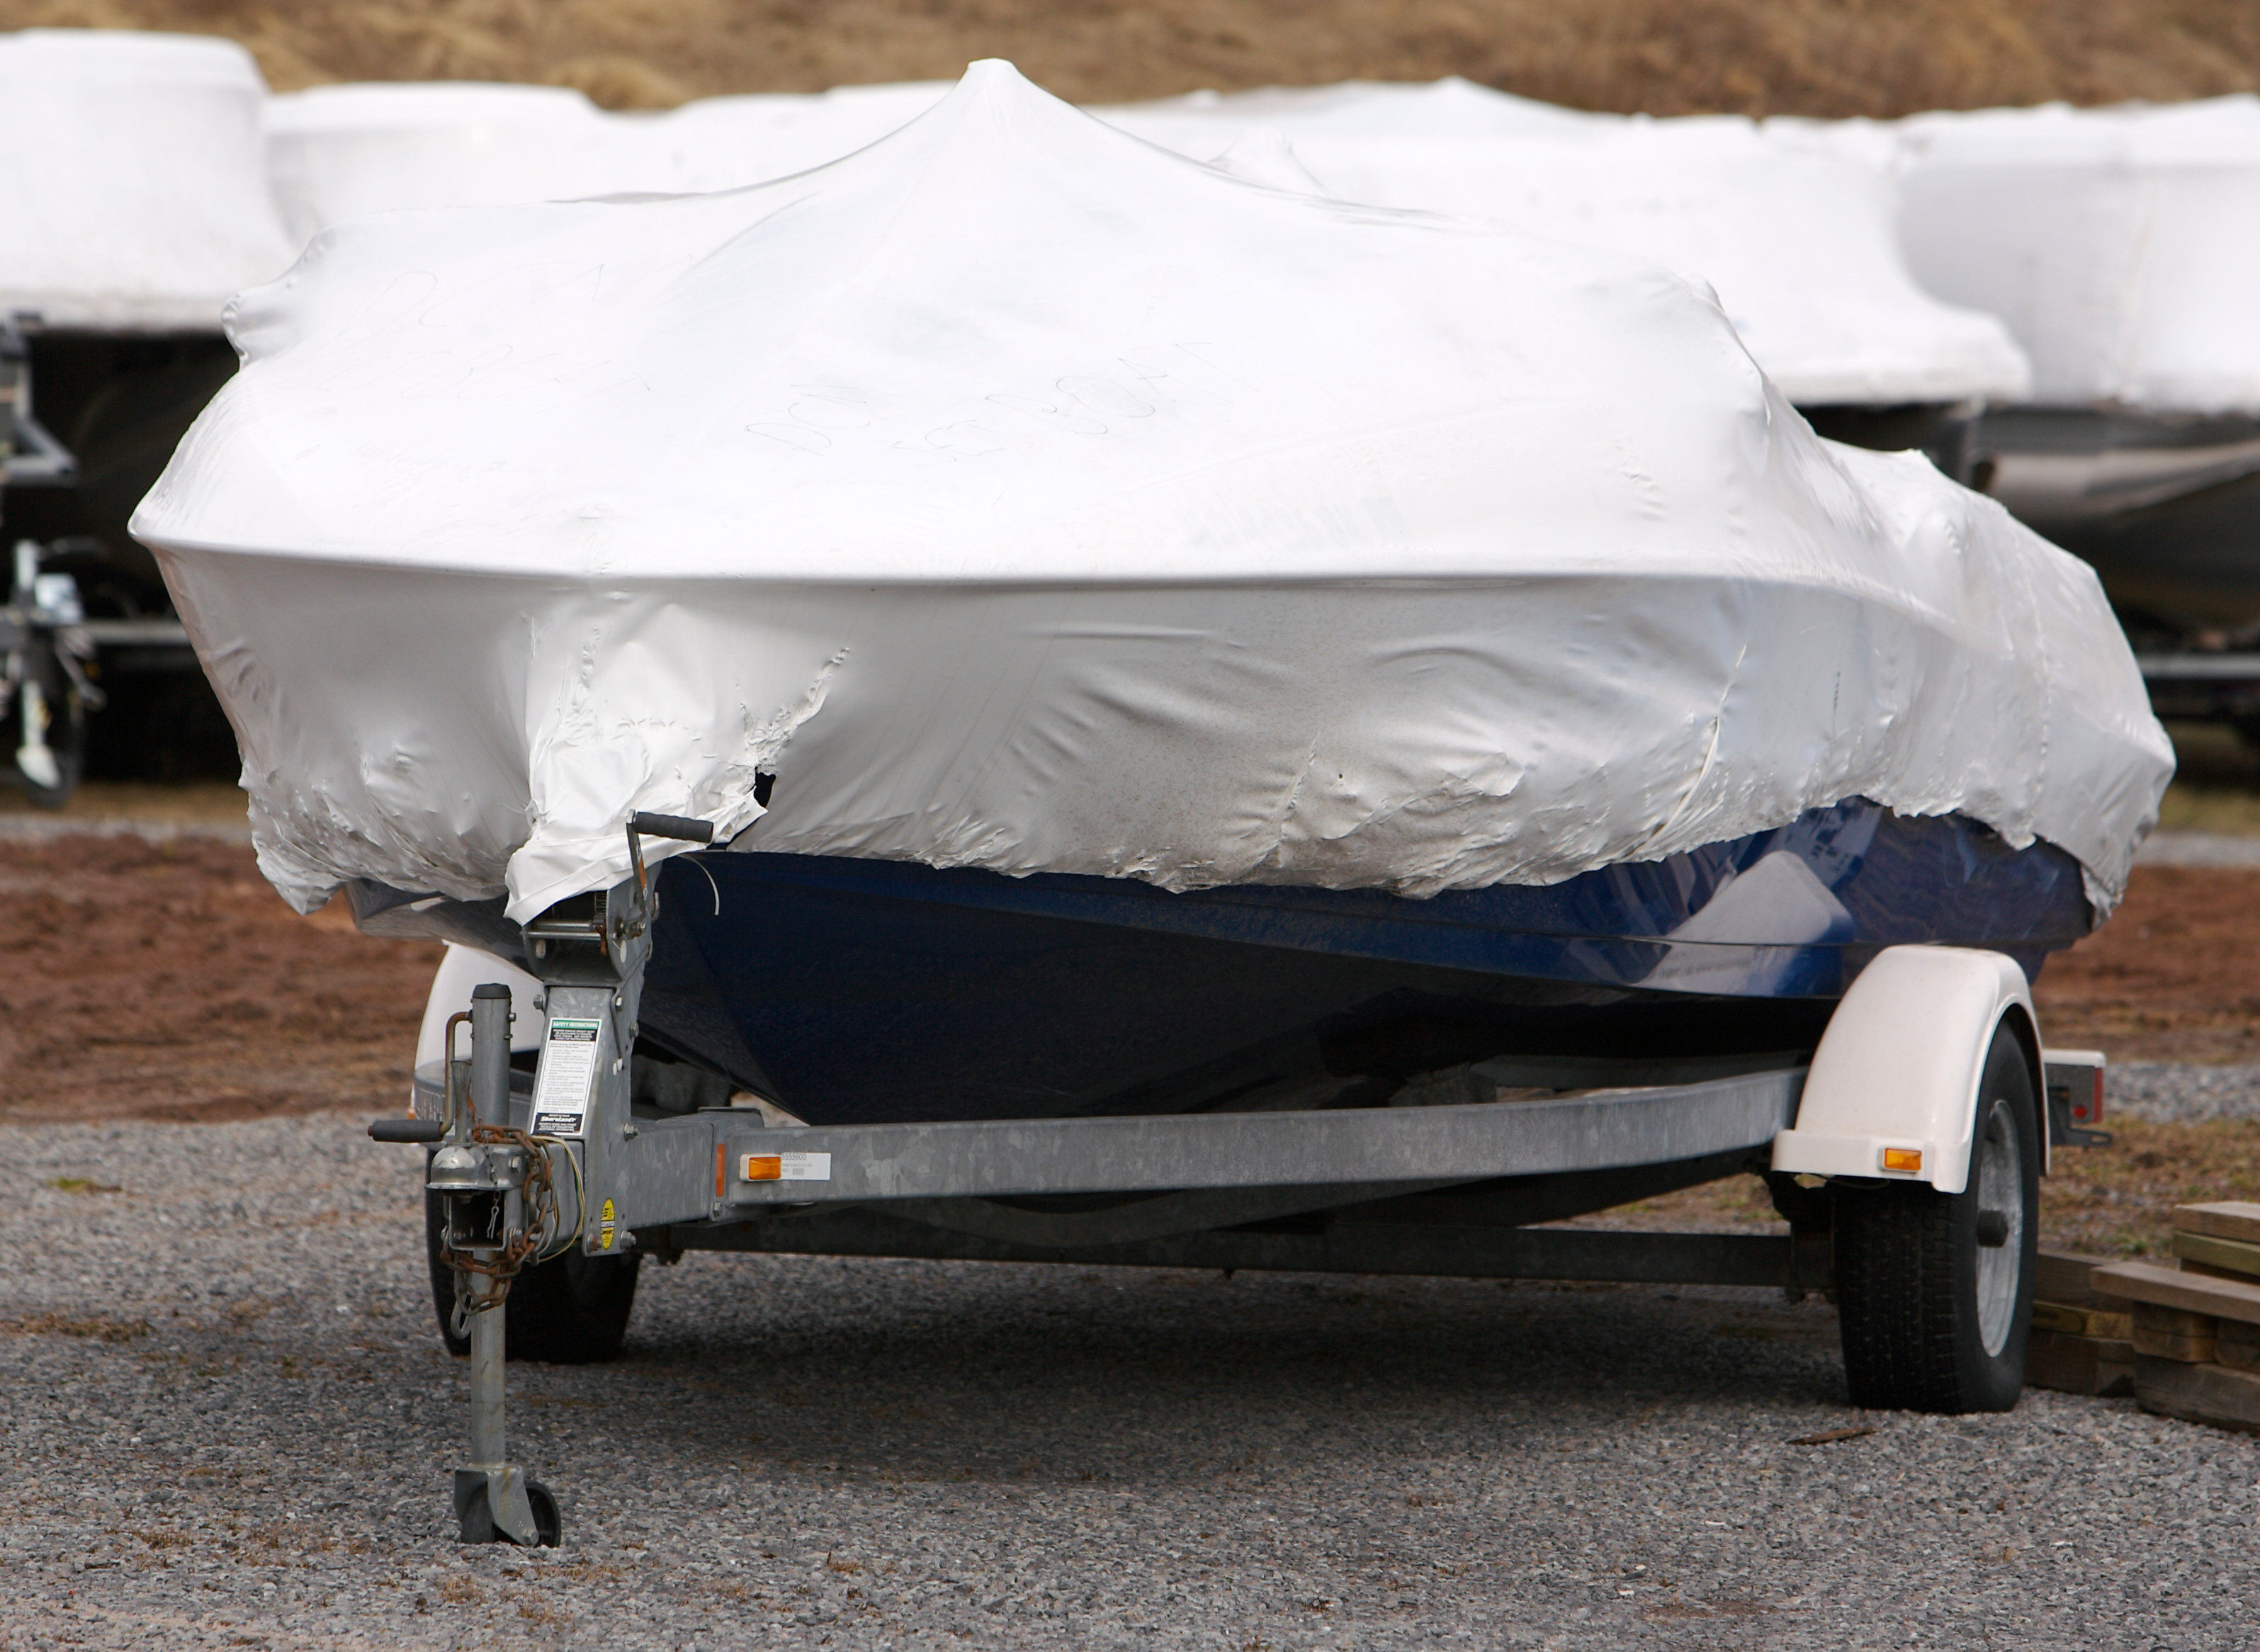
Step 10: Cover the Boat
You’ve done a lot of work to clean and maintain your boat through this winterization process! Keep your hard work and your boat safe at this stage by covering it.
Tarps are typically the most popular option for boat coverage. However, if you have the budget, shrink wrap offers a higher level of protection for the outside and interior of your boat. Shrink wrap fits your boat perfectly, where a tarp can leave gaps and expose part of the exterior to the winter elements.
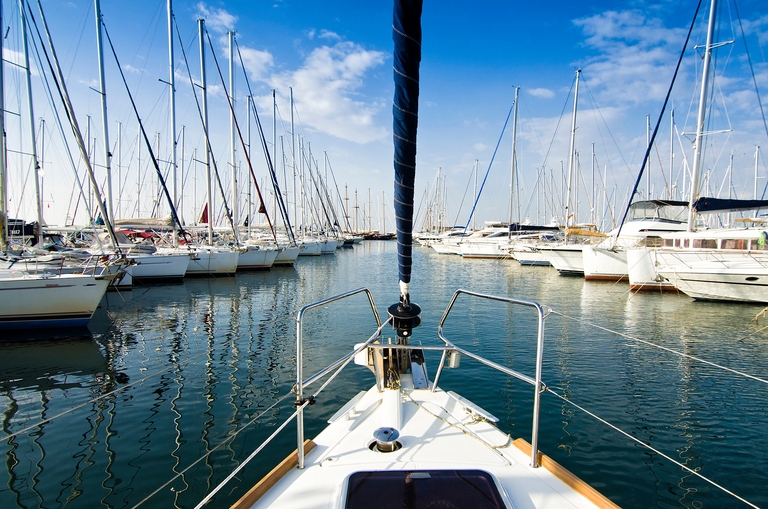
Bonus Tip: Storing Your Boat
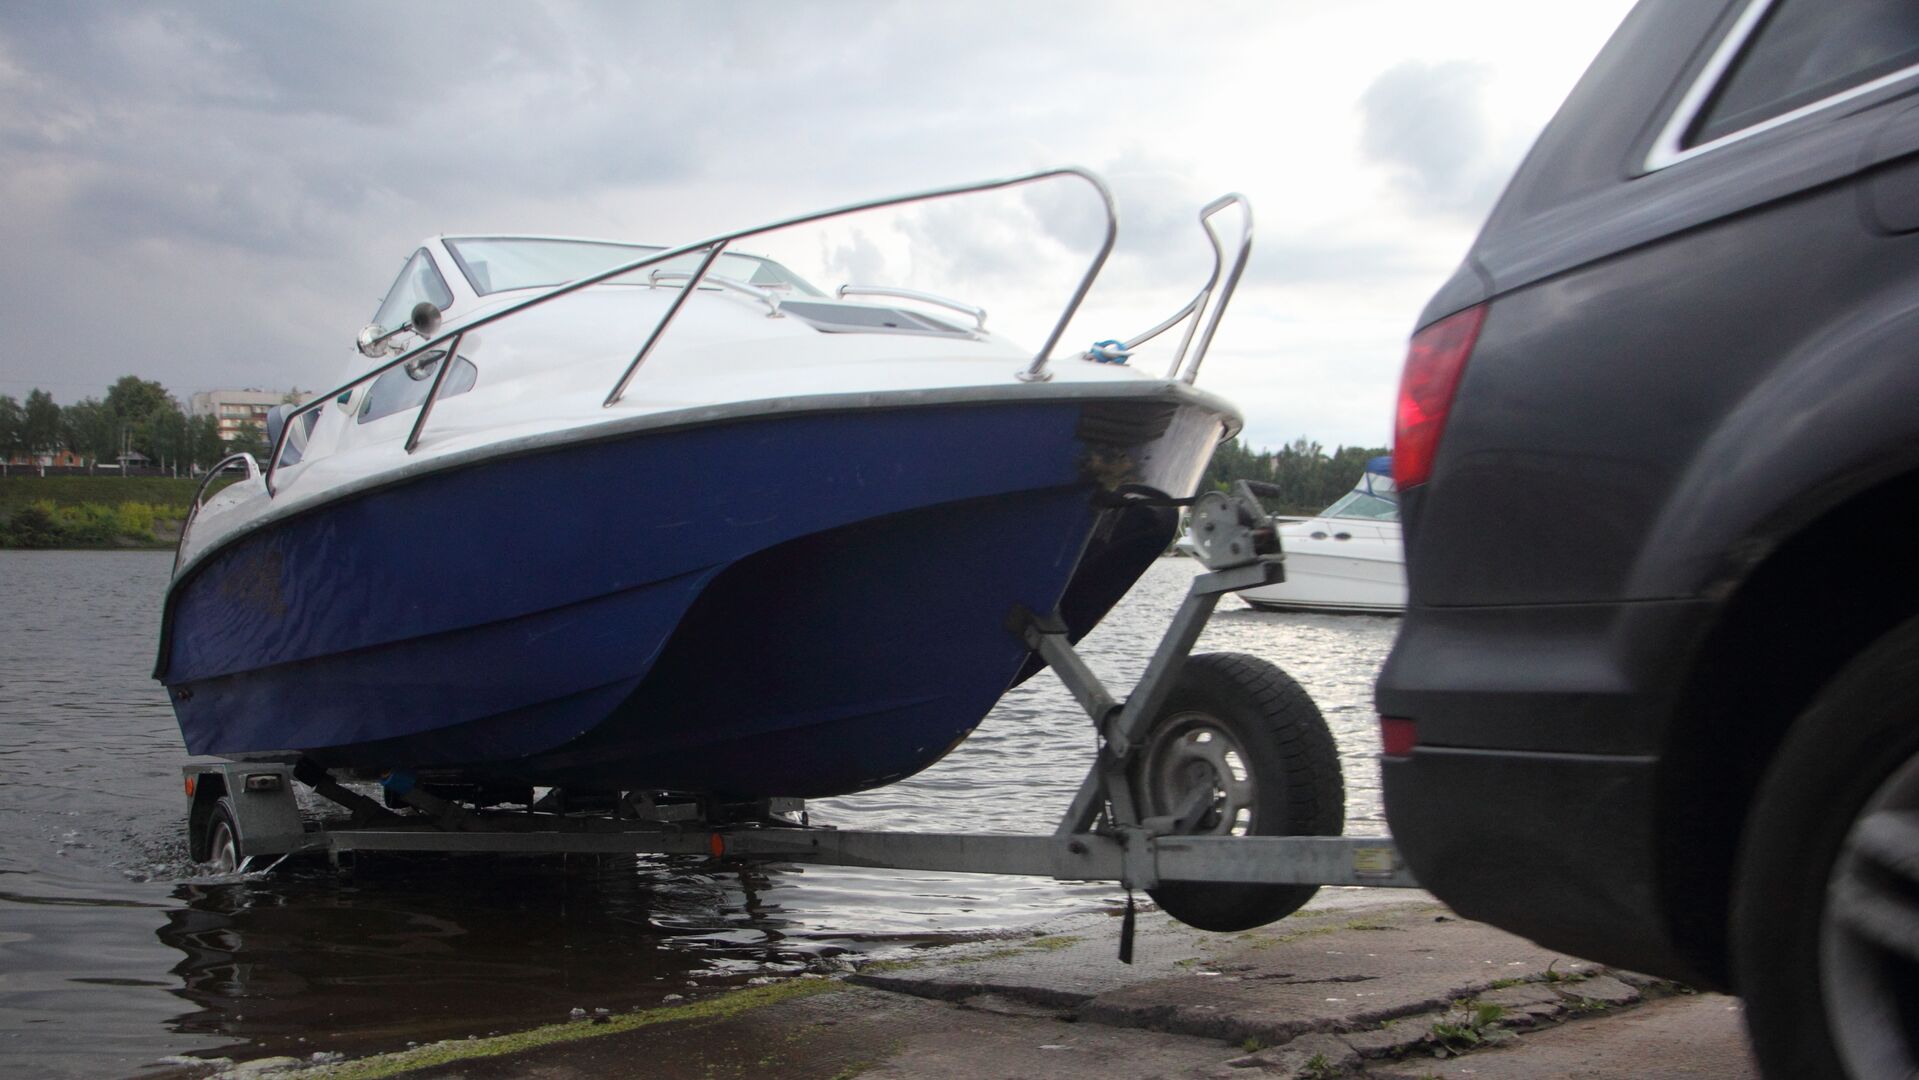
What do you do with your boat after it’s winterized? Store it properly!
Boaters have two primary options when storing watercraft: out-of-water or in the water.
Storing Out of Water
Lifting your boat out of the water for the off season helps protect it from water and sun damage. It’s also a good way to protect the interior of your boat, including cushions.
When storing a boat in dry out-of-water storage, add a few more steps to your winterization routine, including:
- Removing batteries
- Pressure washing the hull
- Cleaning props and shafts
- Cleaning thru-hulls and strainers
- Opening all seacocks for water to drain
Many boaters prefer dry out-of-water storage when boats aren’t in use, but keeping your boat in the water for storage has advantages, too.
In-Water Storage
Keeping your boat in the water during the off season means you're a few steps closer to getting back out on the lake or sea when boating season starts. You won’t have to remove your boat from dry dock and lower it back into the water if it’s already there!
To keep your boat as safe as possible when storing in the water:
- Ensure the battery is fully charged
- Ensure float switches work and are free of obstruction
- Close the seacocks
- Check bilge pumps to ensure they are fully operational
- Ensure you or the marina staff check on your boat periodically
If the water at your dock tends to freeze during the cold seasons, make sure you have a bubbling system or de-icing device around your boat to avoid ice damage.

Boat Winterization Makes Boating Season Better
Boaters who understand when and how to winterize a boat have more fun (and time) on the water during boating season! You’ll also reduce repair costs and extend the life of a watercraft you love and plan to use for many years to come.
Winterizing boats is a topic we cover in our Boat-Ed Safety courses. Learn more about this important boat ownership topic and get ready for the upcoming season by signing up for your online course and getting ahead of the other boaters in your area with your license already in hand!
Click to find the course for your area and get started! Our online courses make it easy to learn valuable safety tips and earn your license anytime and anywhere that’s convenient for you.