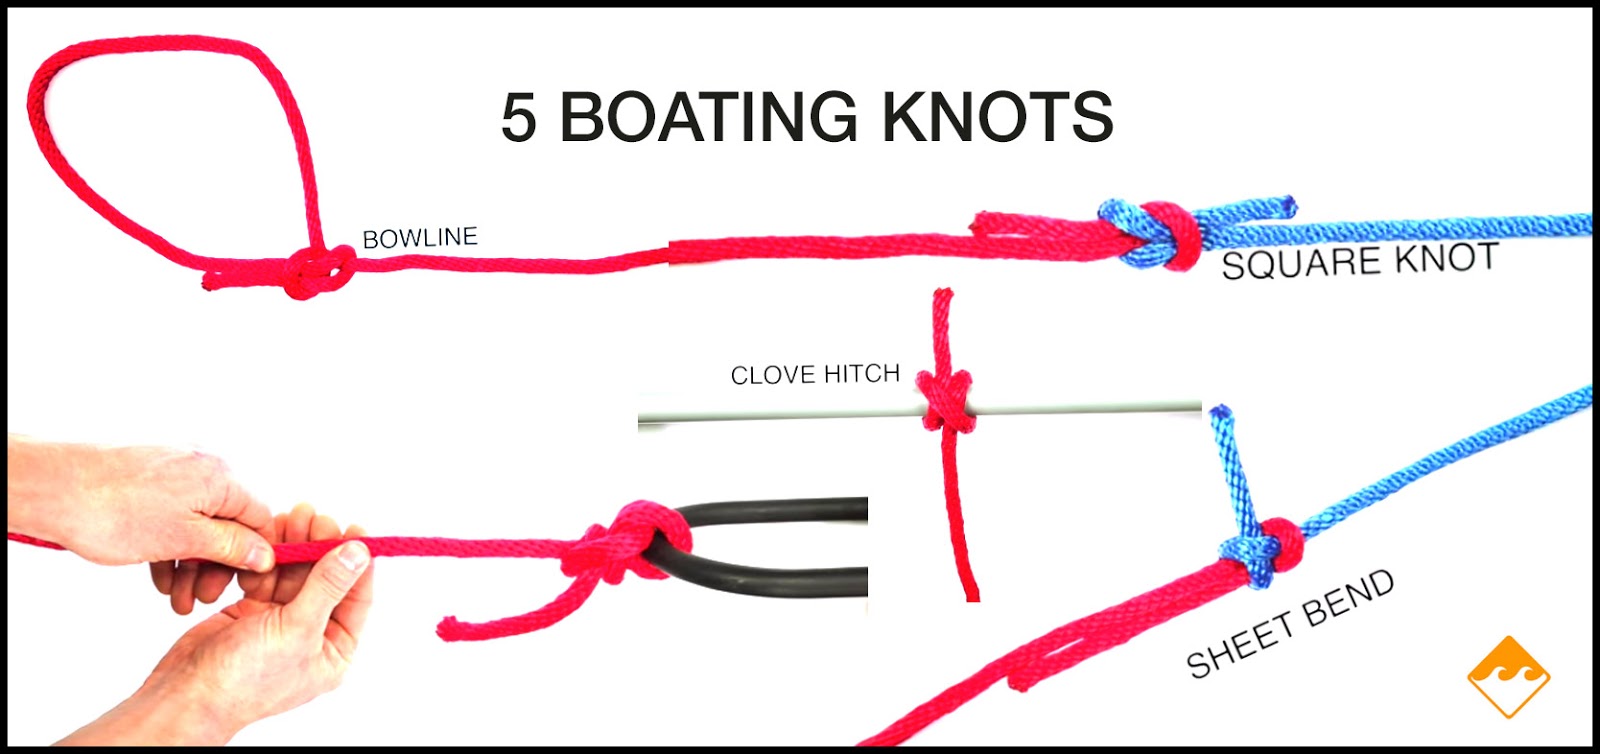
Fit to Be Tied: 5 Essential Boating Knots You Should Know
Although there might seem to be an endless selection of boating knots out there, most boaters can get by with just the basics.
Understanding how to tie boat knots is an essential part of boat safety.
So, today, we cover five basic boating knots you should know. Keep reading to find out their uses and, most importantly, how to tie them. Then grab some rope or a shoestring and practice on your own!
Why Boaters Need to Know Knots
Why not know some essential knots?
Boating safely requires essential skills, including docking, securing safety lines, or hoisting sails if you plan to operate a sailboat. To successfully dock a boat, you need to know how to tie knots that keep your boat secured and untie easily when it's time to launch again.
However, not all knots are the same. Before launching your boat for a day on the water, practice the following knots and understand how they function on your boat.
1. The Bowline Knot
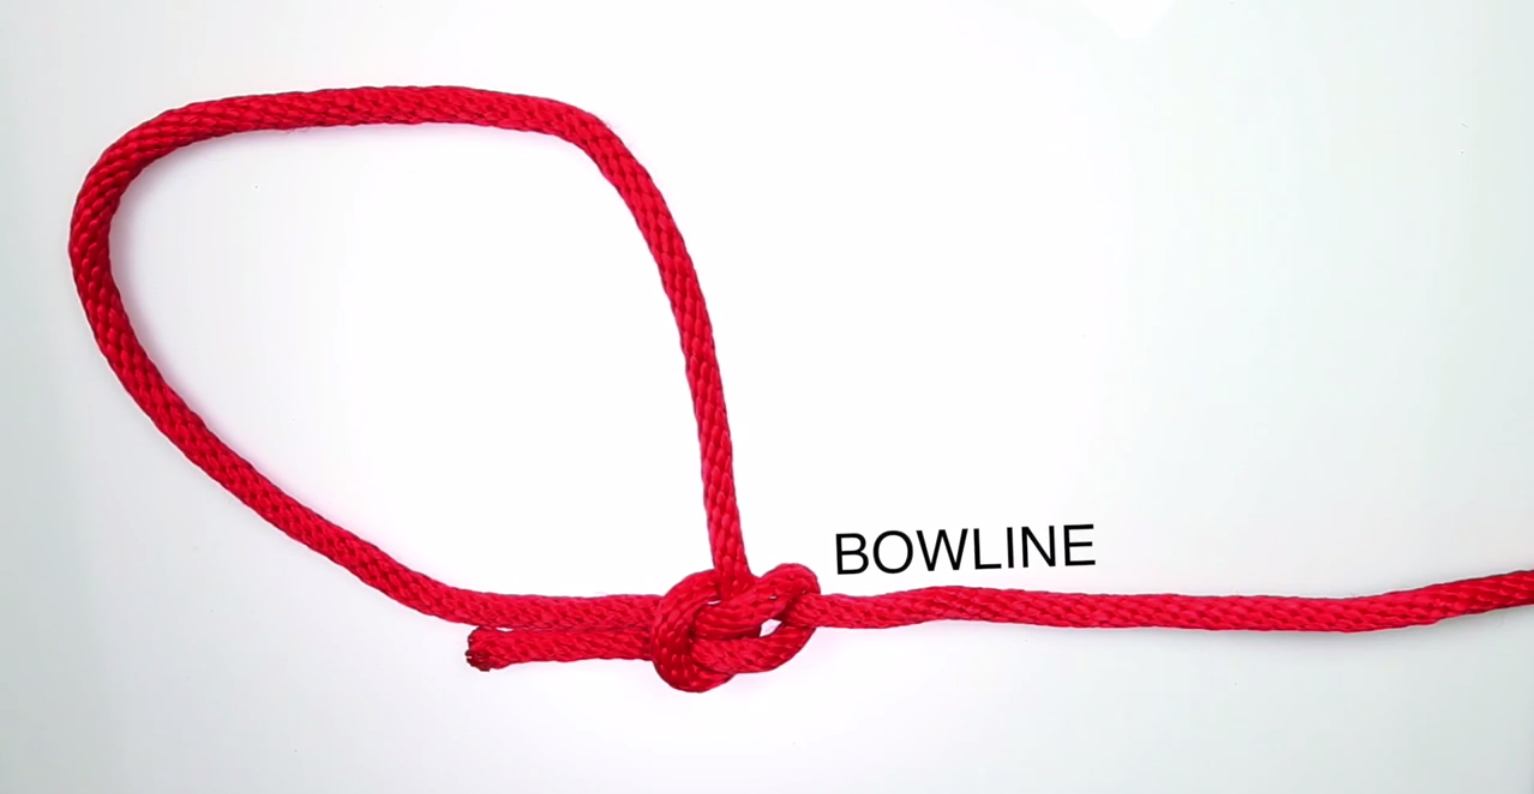
If there's one knot you absolutely need to learn, it's the bowline. There's a reason it's called "the king of knots."
This multi-purpose boating knot is essential for boaters to know and practice. It creates a fixed loop on the end of the rope that can be used for hitching, mooring, or lifting. Tying this knot is easy after a bit of practice. After mastering this knot, you can even tie it with one hand.
Practice this knot by:
- Making a small overhand loop in the standing part of a rope.
- Pulling the loose end rope up through the loop, ensuring it goes around and behind the standing part. Then, bring it back down into the loop.
- Bringing the working end back through the overhand loop. It should exit the knot toward the inside of the fixed loop.
- Pulling the rope's standing part away from the loop while holding the rope's bight to tighten the knot.
A successful bowline knot will stay secure until you are ready to undo it!
2. The Square Knot
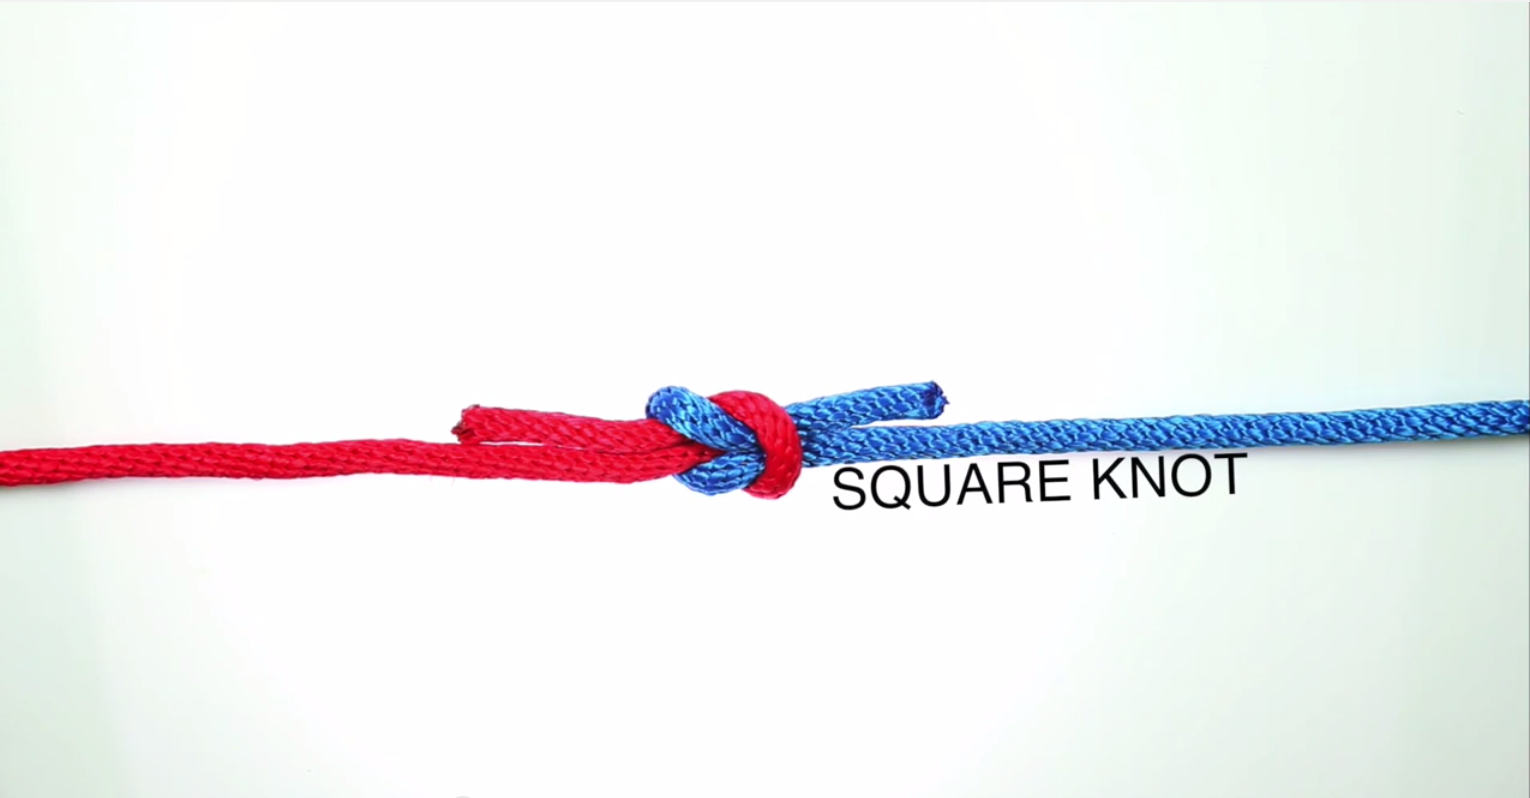
The square knot is a simple, quick knot used to join two ropes or lines of the same thickness together.
Try this knot if you're looking for something to use in a pinch. It is ideal for things like furling sails or hanging clothes up to dry while on the water.
However, if you need something more secure or if safety is critical, this knot isn't your best bet.
To master this knot:
- Hold an end of the line in each hand.
- Grab the working end in one hand (i.e., the rope in your left hand) over the line in the other hand (i.e., your right hand), creating a bight like when tying your shoes.
- Do the same thing, working the piece in your right hand over the lefthand piece.
- Pull all four slack lengths of the rope to tighten.
The knot should look like two interlocking loops with both ends on the same side of the knot.
3. The Clove Hitch Knot
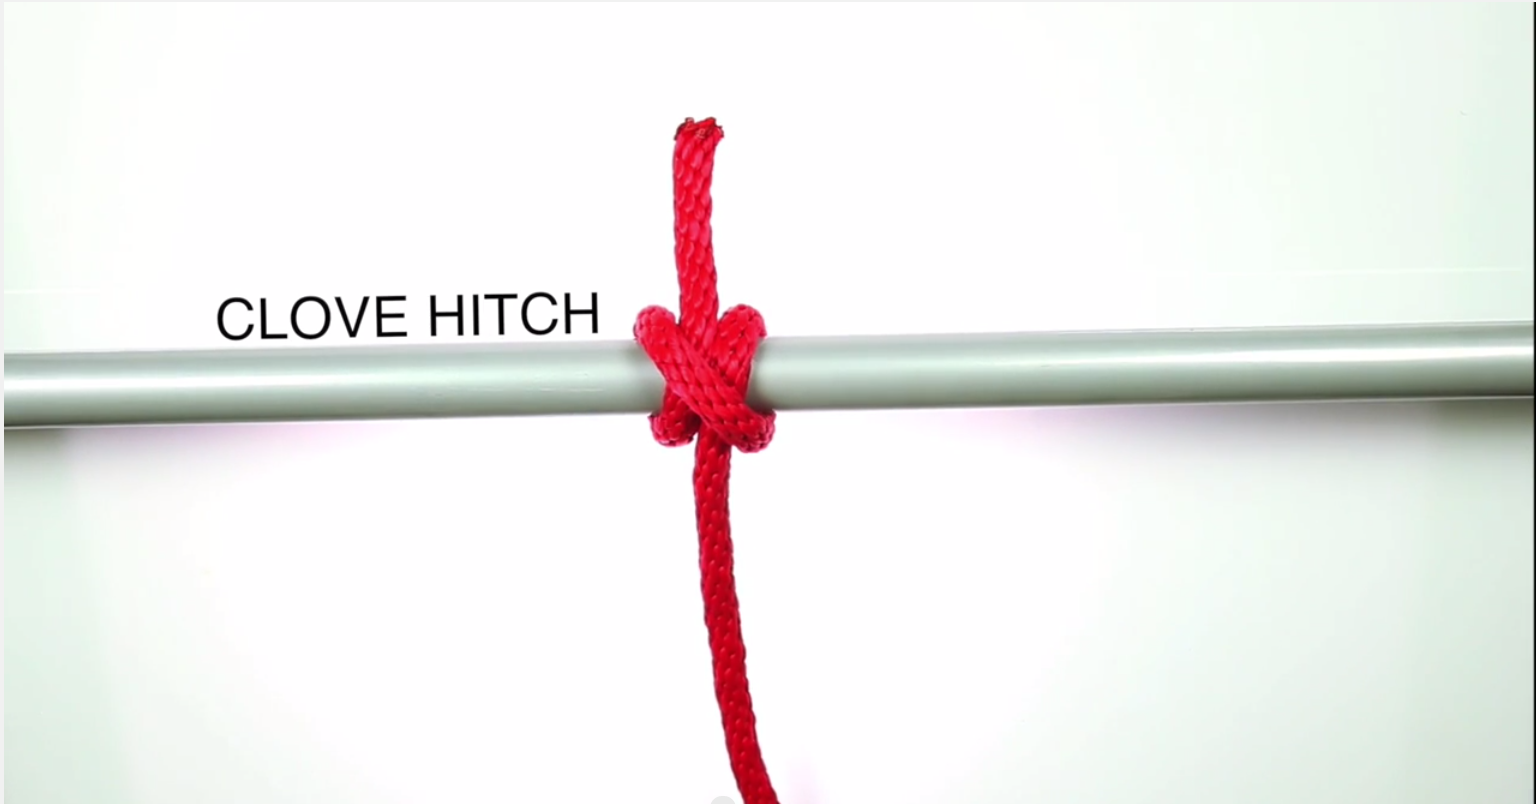
If you need temporary fastening, look no further than the clove hitch knot! Its name comes from the finished knot resembling a clove you might use when cooking a recipe.
This boating knot is extremely useful because, with some experience, it can be tied using just one hand. It's ideal for securing a rope to a pole or putting your fenders out.
To create a clove hitch knot:
- Pass the rope around a pole, post, or other object.
- Then, take the rope around the object again, crossing over the rope loop you just made on the pole.
- Loop the rope under the second turn, then over the top of the object again.
- Finally, tuck the end of the rope under the last turn and pull it tight.
If you need something with a little more holding power, add two half-hitches after you've tied your clove hitch.
4. The Sheet Bend Knot
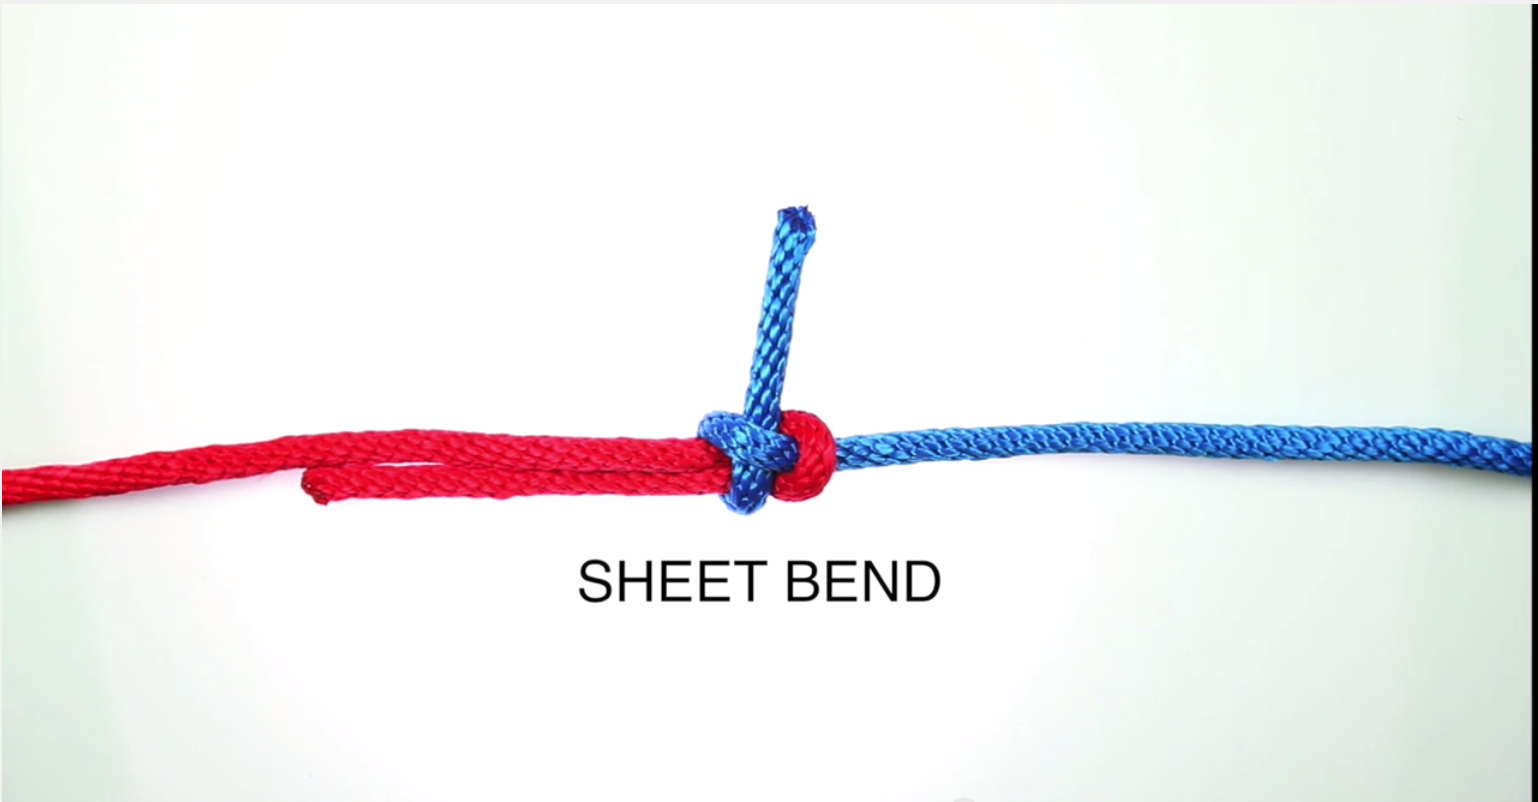
While the square knot is an excellent option for tying two same thickness ropes together, the sheet bend knot joins two ropes of different sizes or materials together. It's also a more secure alternative to the square knot.
To make a sheet bend knot:
- Form a U-shaped bight or bend at the end of the larger or stiffer line.
- Next, pass the end of the smaller line through the bight, wrapping it behind the heavier line.
- Pass the end under its own standing line and over the working end of the larger line bight.
- Pull both ends of both lines to tighten.
This is one of the best knots for boaters for towing and has multiple uses when sailing, including mending sails.
5. The Fisherman’s Bend Knot
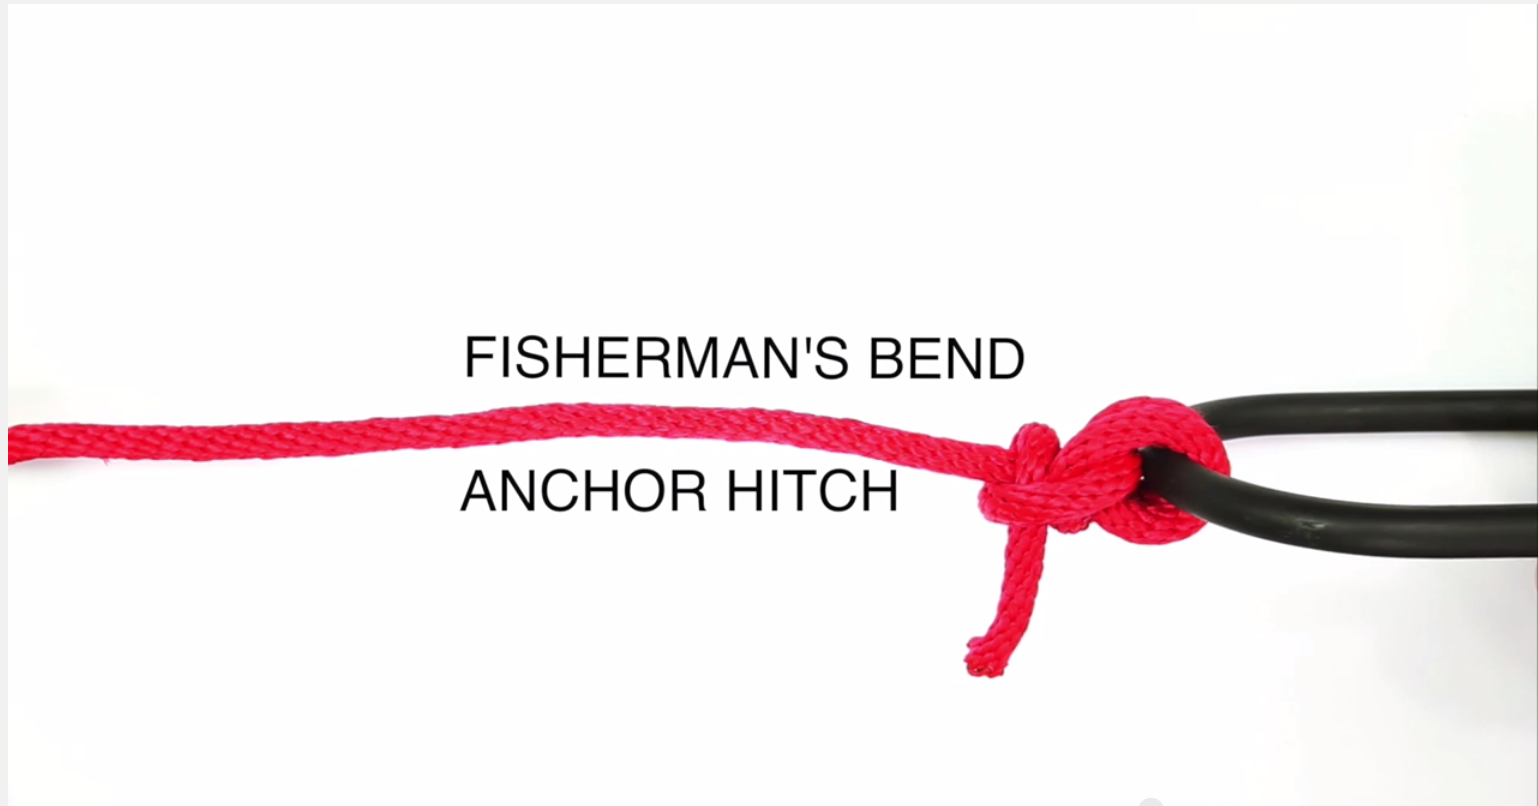
The fisherman's bend, a.k.a. an anchor hitch, is one of the strongest boating knots to attach a rope to an anchor or hook. The great thing about this knot is that although it's strong, it can be untied easily.
When practicing the fisherman's bend knot:
- If fastening the rope to an anchor, start by passing the rope through a ring twice.
- Then, go over and around the rope and through the loop we just made.
- Tighten slightly, then take the loose end over the rope a second time, then around the rope to lock on itself.
- Pull it tight.
If you're looking for visual aids to learn these knots, check out our video that covers each of the knots we highlighted today.
Boat Knots Aren't the Only Thing You Need to Know!
Knots are important but aren't the only thing you need to know for a safe outing on the water. Learn more about nautical knots, navigation and etiquette, launching and docking, and many more safety essentials when you take a boater safety course through Boat-Ed.
Many states require boaters to complete an approved course to get certified before operating any watercraft. Boat-Ed makes it easy to get your boating license with our online courses and exams you can take anywhere on a mobile device or your desktop computer.
Find your state's course, or choose our course for Canadian boaters, then start learning for free! You'll be ready to hit the water before the season begins.
Originally published April 6, 2015. Content updated January 29, 2024.